As explained earlier your application is made of many Tipos and each Tipo is a representation of metadata required for an object.
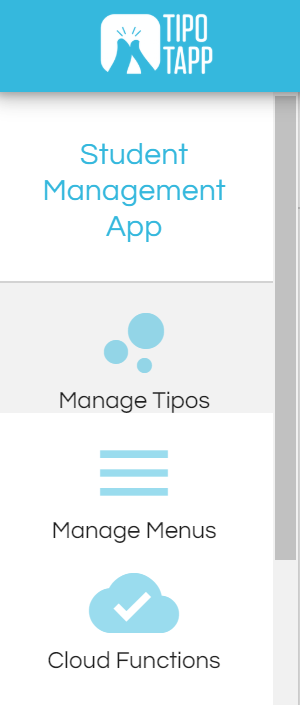
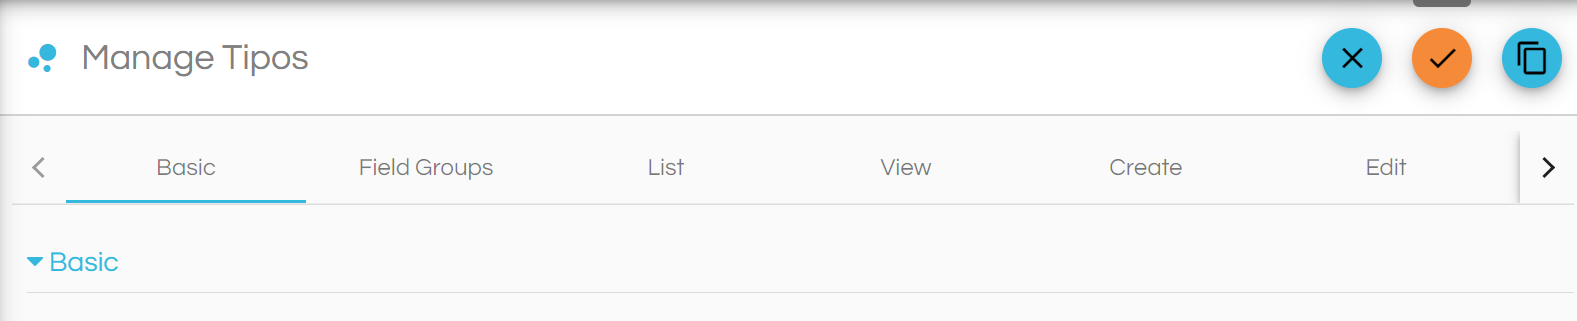
Manage Tipos
Open the menu at the left and select Manage Tipos.
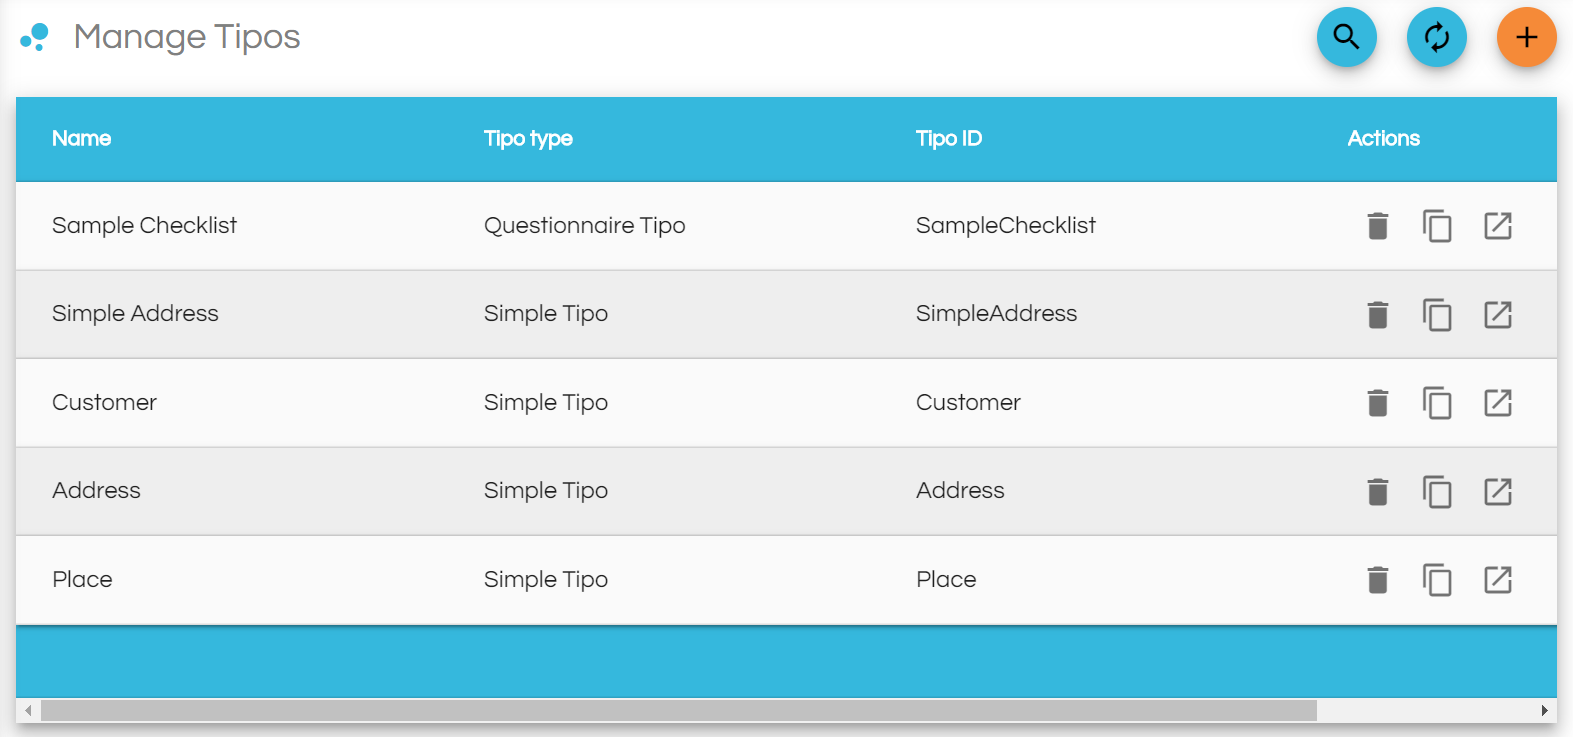
The Manage Tipos displays Tipos that have been created to hold the app’s data. Here you can view, edit, create and delete Tipos. Now, we'll see the Tipos that were automatically generated along with the new app: Customer, Address, Placeand SimpleAddress.
Customer tipo is included as a sample and it can be safely deleted.
To delete a tipo, select it from the list and click on the delete button at the top-right of the screen.
Note: Do not delete the other embedded Tipos(Address, Simple Address and Place), you may require them in your application.
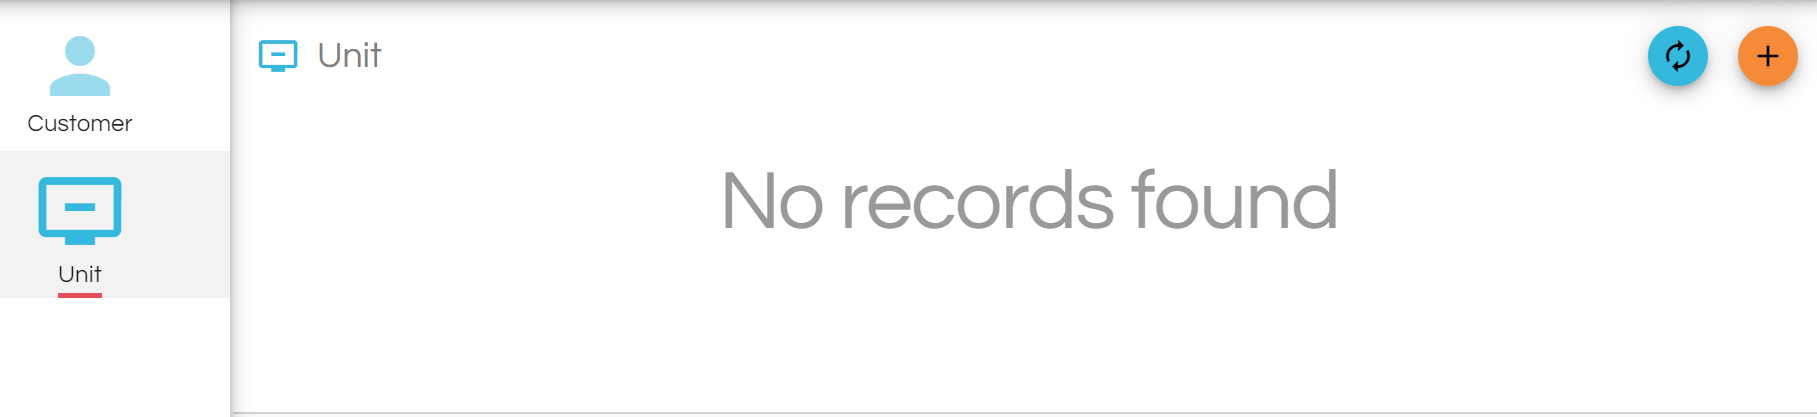
Start with a simple Tipo: Unit
Unit
- Unit ID : Auto-generated ID
- Unit Name : String
Select Manage Tipos and use the + button to add a Tipo to the app. We’ll start with the UnitTipo that will hold data related to a course unit. Our Unit object will only store the unit’s ID and name.
At the top of the page that comes up, you can enter the Tipo’s Meta Data. Below we’ve filled out its Name, Description, and Icon.
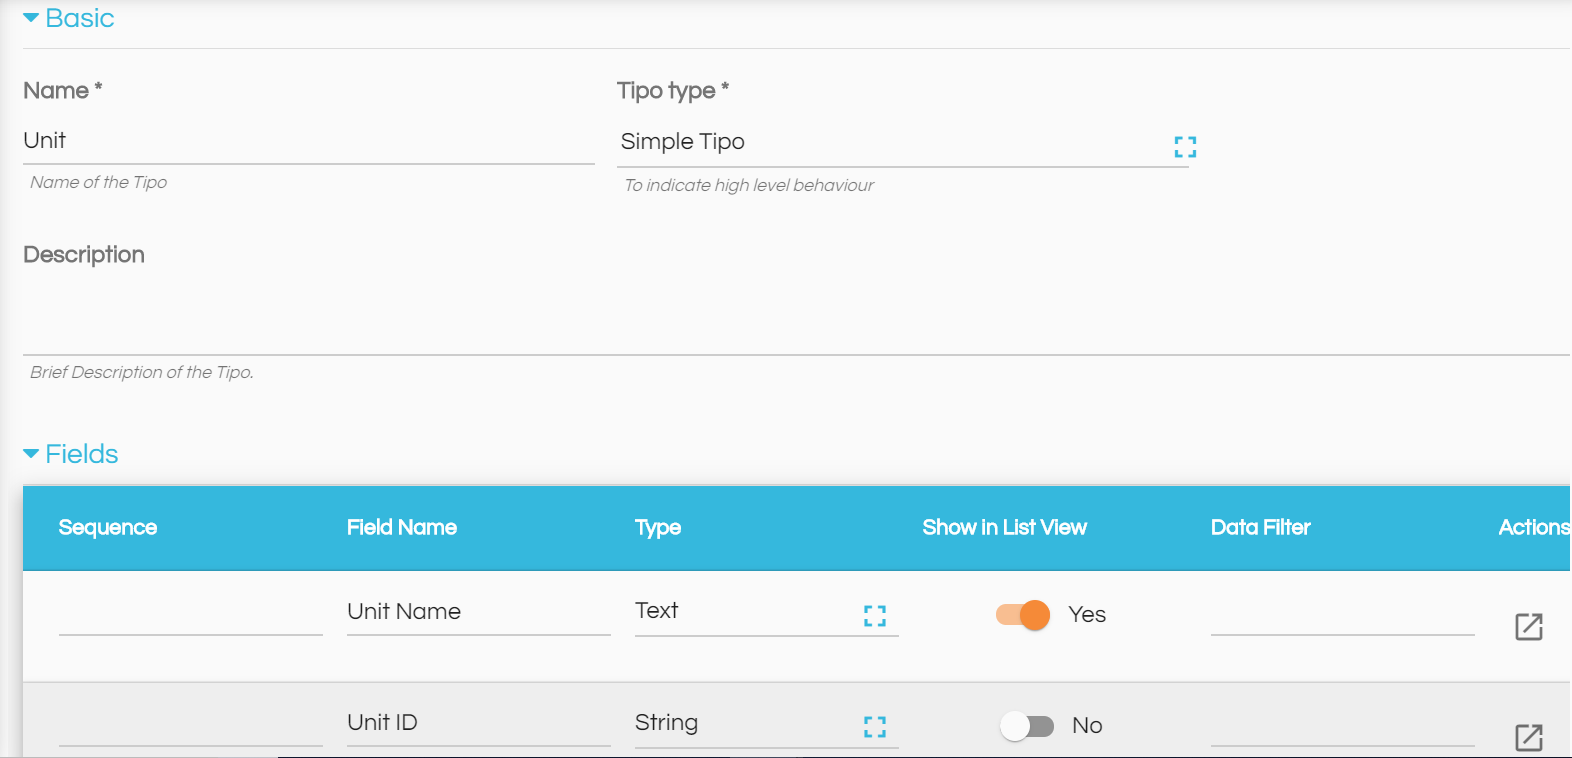
To add fields to the Tipo, select the + control to the right of the Fields section and fill out the field’s data. With this view of the Field control, you can add basic information about the field as shown.
Remember we had mentioned that a Unit will have two fields: Unit ID and Name. There is no need to add an ID field as this will be automatically generated for any Tipo you add to the application.

The Sequence will hold a number that will determine the order in which the fields should be displayed. If you leave this blank, it will be auto generated by incrementing the Sequence value of the previous field. The ID field that will be autogenerated will have Sequence of -1 and the Sequence of other fields that you add to the Tipo (while leaving the Sequence field blank) will start at 1 and increment from there.
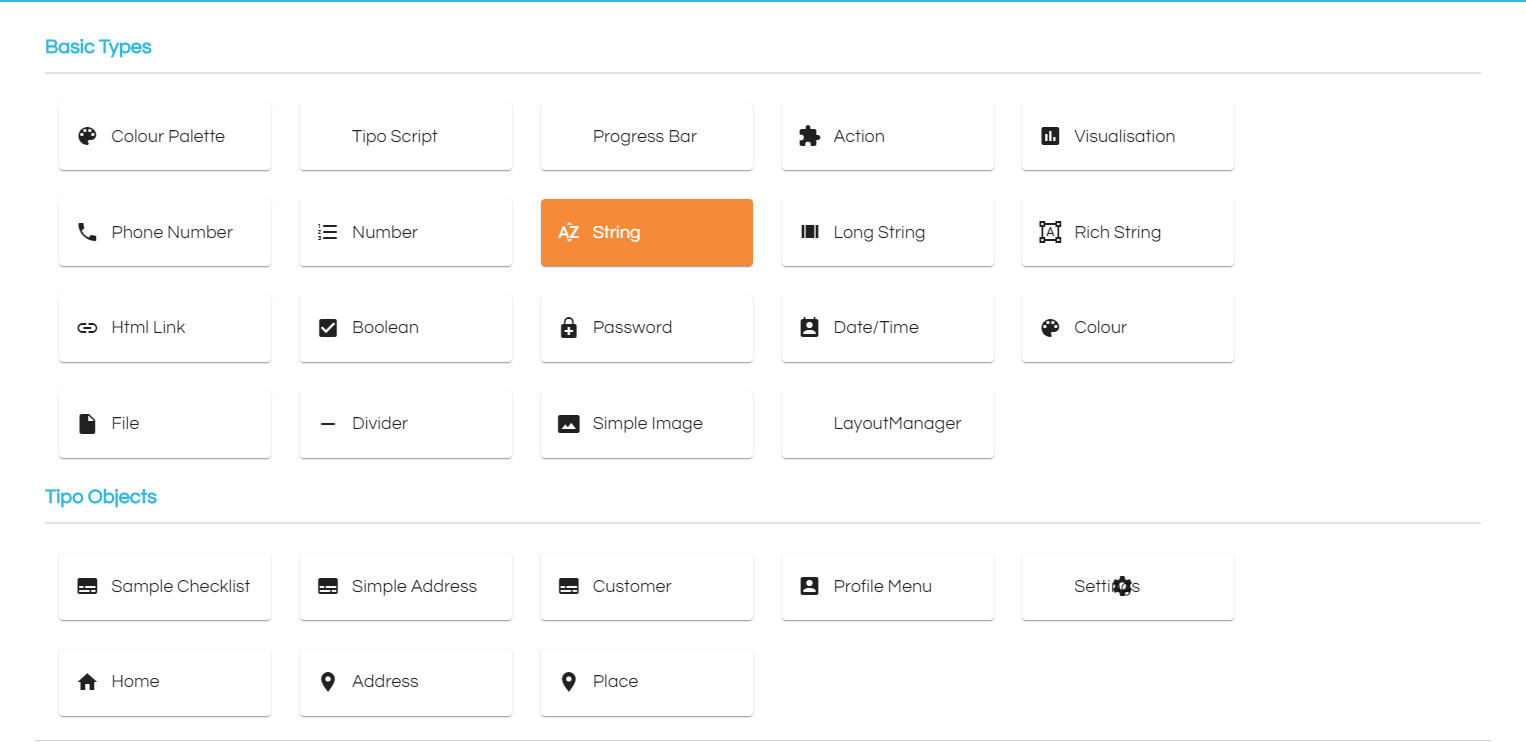
The Field holds the name of the field and the Type specifies the data type of the field. You can select the value from a list of Basic tipo Types or from Tipo Objects. We select Simple String for this field.
Note
Once a Tipo is saved, you cannot change the Type of any of its fields. If you need to modify a field type, then you should delete the current field and create a new one with a different name with the required Type.When you turn on Show in List View, the field will be visible whenever an instance of the Tipo is displayed in a list view. This can be seen when viewing the records of a certain Tipo or in a form where the particular Tipo is embedded in another Tipo (we’ll see an example of this later on).
Basically any data object you can add on TipoTapp, has two Edit menus - a Basic one and an Advanced one. To access the Advanced menu, use the following icon that is located to the right of the Basic menu.
Click on to tick mark on right-hand side to save the changes
Adding Tipo to a Menu
Now that we have created and added a Tipo, let's see how to make the Tipo available for your users through a menu. To do that select Manage Menus from the develop view, and from the predefined menus listed, select where you want to add your Tipo. click on  Details
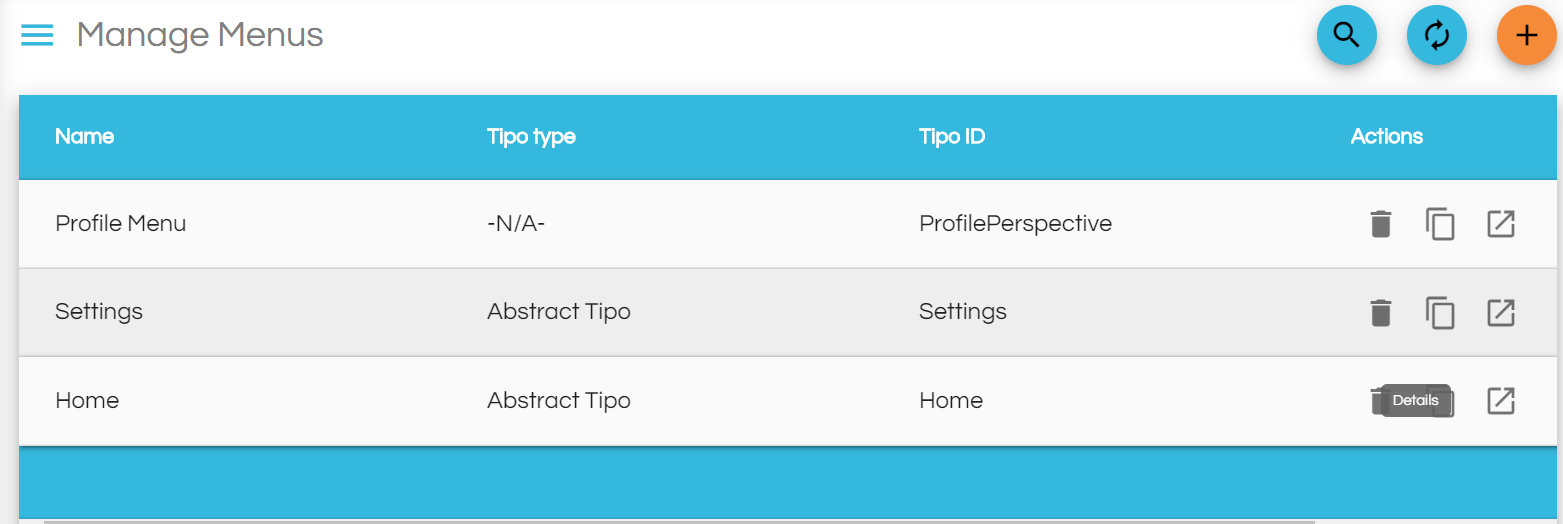
After selecting where you want to add your Tipo, you will be redirected to an overview of the Menu that you have selected. To add your Tipo, select "Edit",![]() and add a new Field.
and add a new Field.
Give the Tipo a menu name and a icon, and select the created Tipo.
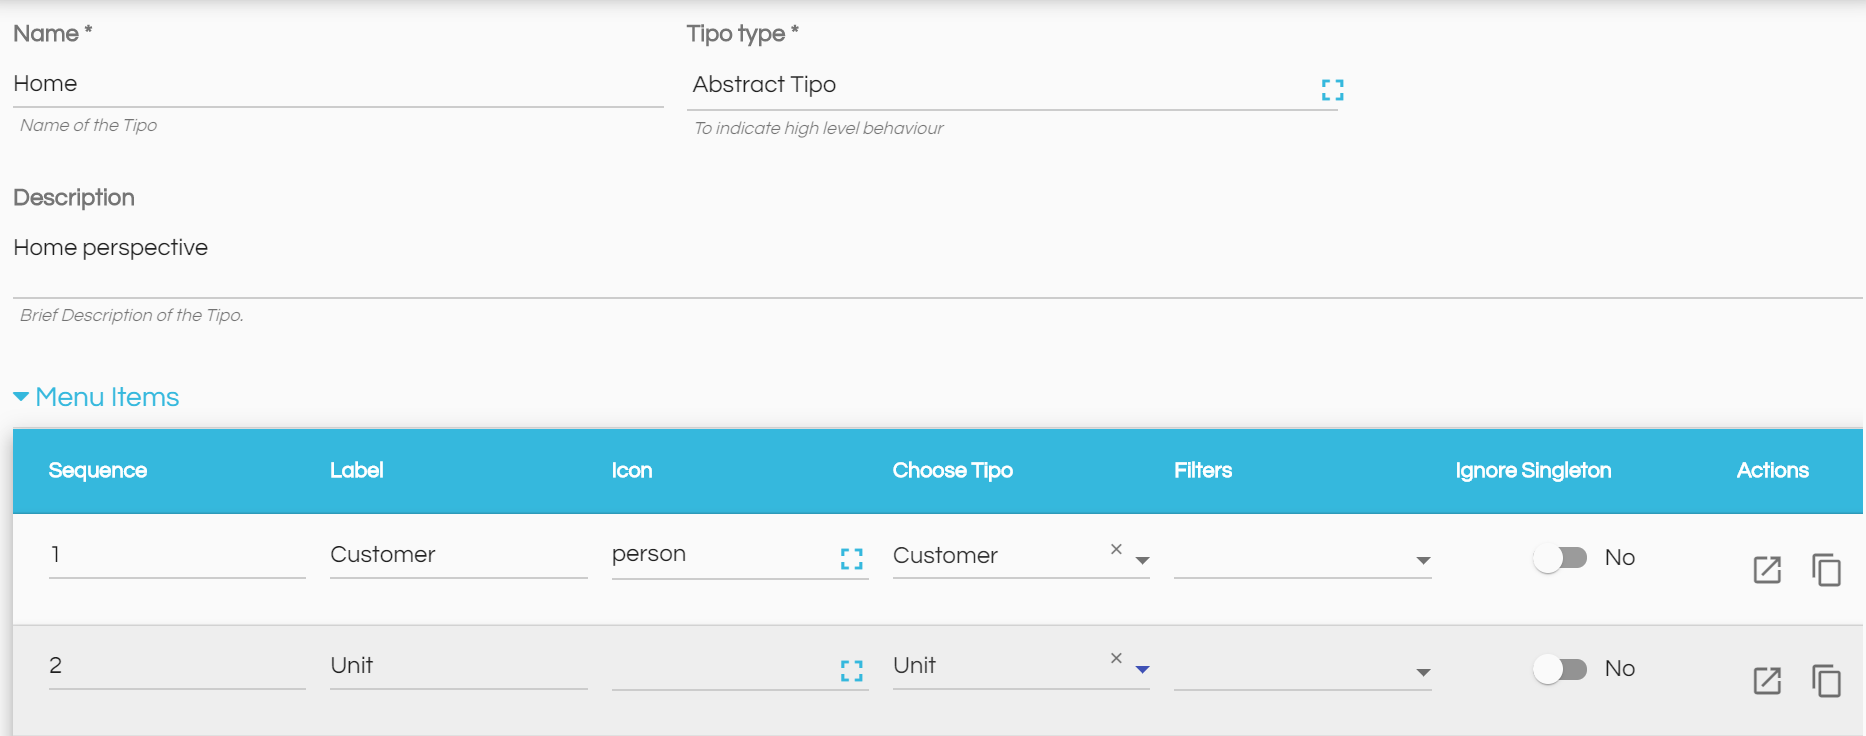
Click on Save ![]()
Now goto Build menu option on the left hand side
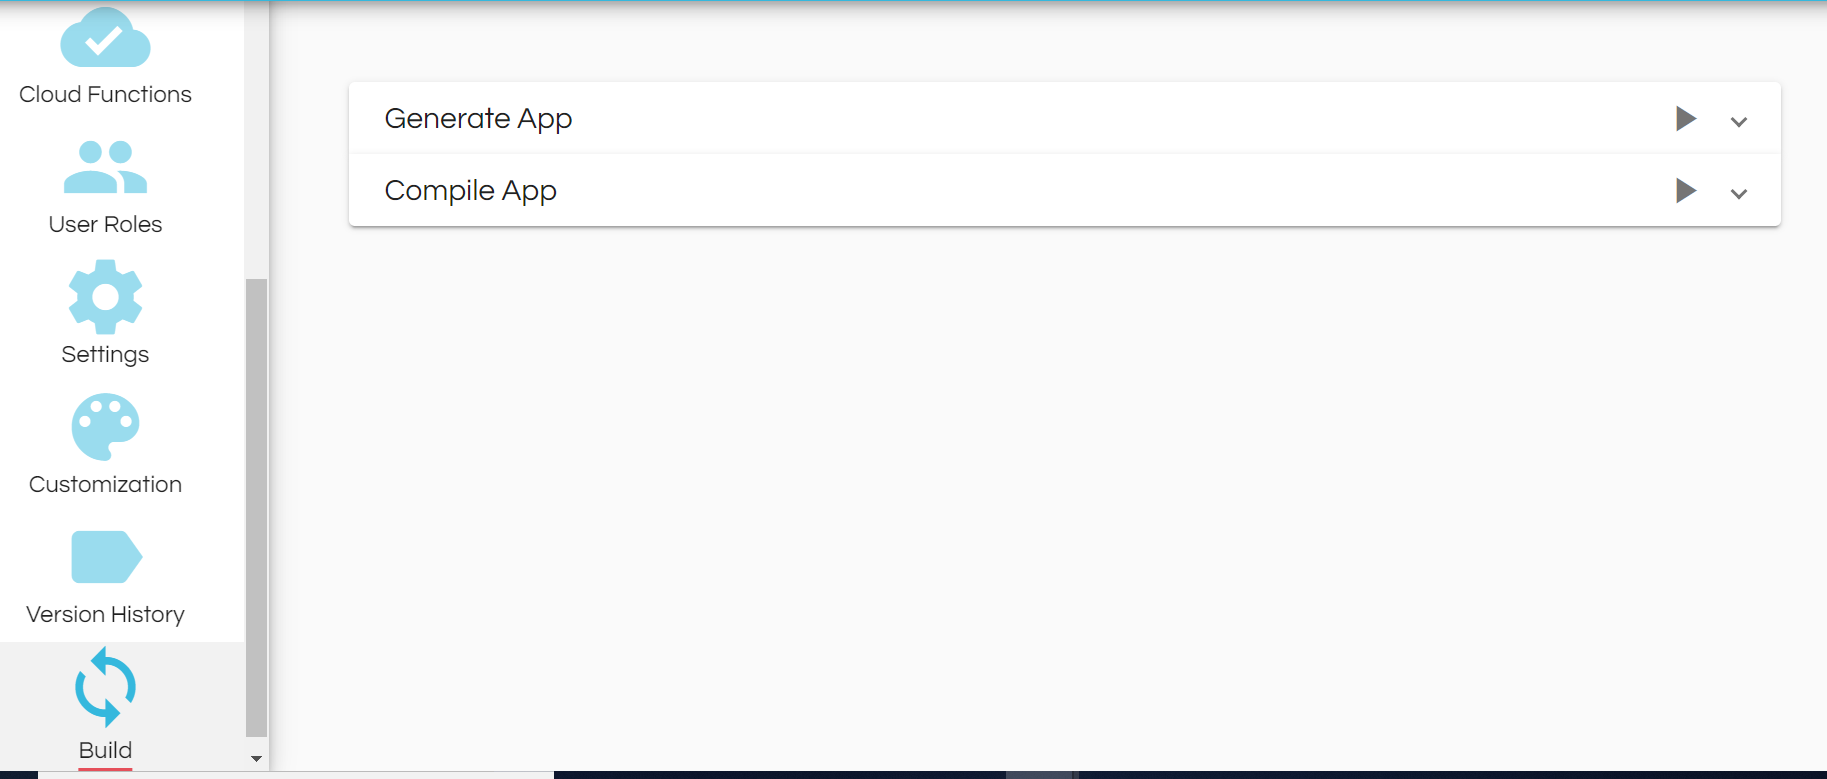
Click on Generate App triangle shown, it will take a few minutes. Be patient


Click on ![]() button available at the top right-hand side of your screen.
button available at the top right-hand side of your screen.
Now your Tipowill be available in the Home menu.
From here you can allow your users to add, edit or delete the records.
For the student management we'll add the following Tipos and their respective fields and their data types, by repeating the process above:
Course
- Course ID : Auto-generated id
- Course Name : String
- Course Level : 100/200/300/400 (Number with fixed choice)
- Units : Unit

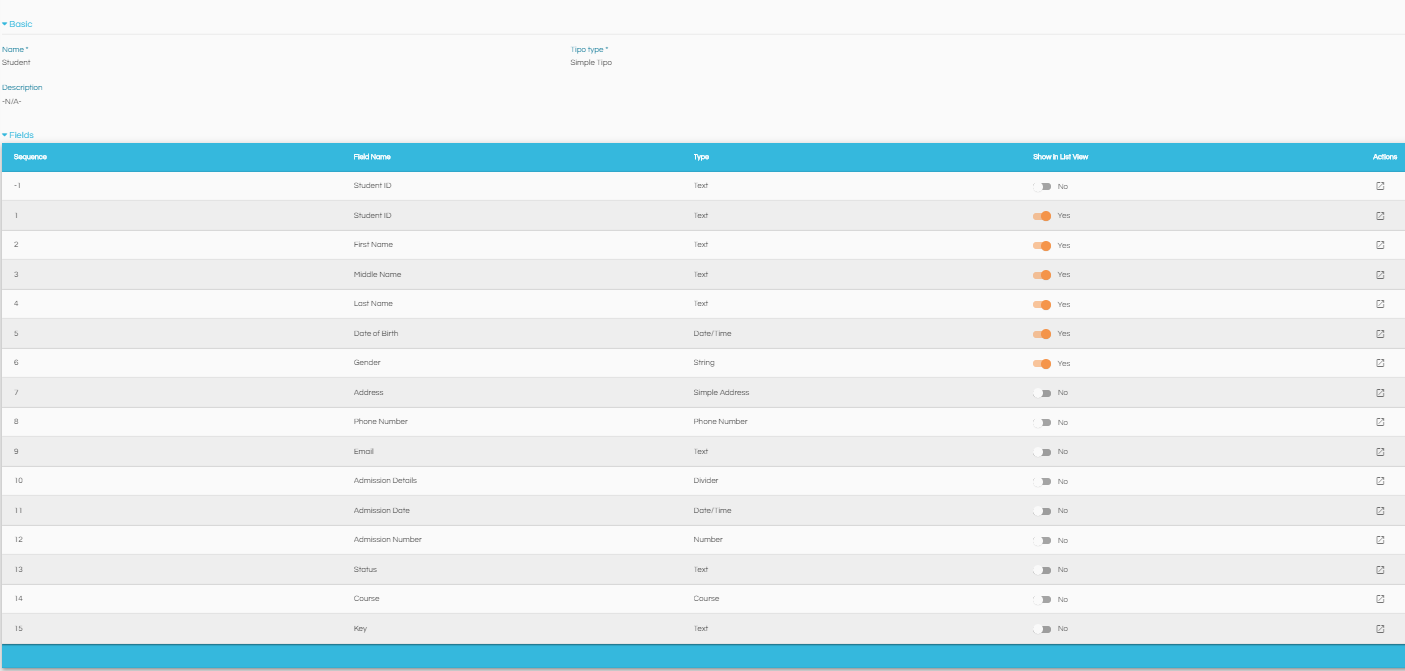
Student
- Student ID : Auto-generated ID
- First Name : String
- Middle Name : String
- Last Name : String
- Date of Birth : Date/Time
- Gender : Male/Female (String with fixed choice)
- Address : Simple Address
- Phone Number : Phone Number
- Email : String
- Admission Details : Divider
- Admission Date : Date/Time
- Admission Number : Number
- Status: String
- Course : Course
- Key: String
Comments
0 comments
Please sign in to leave a comment.